
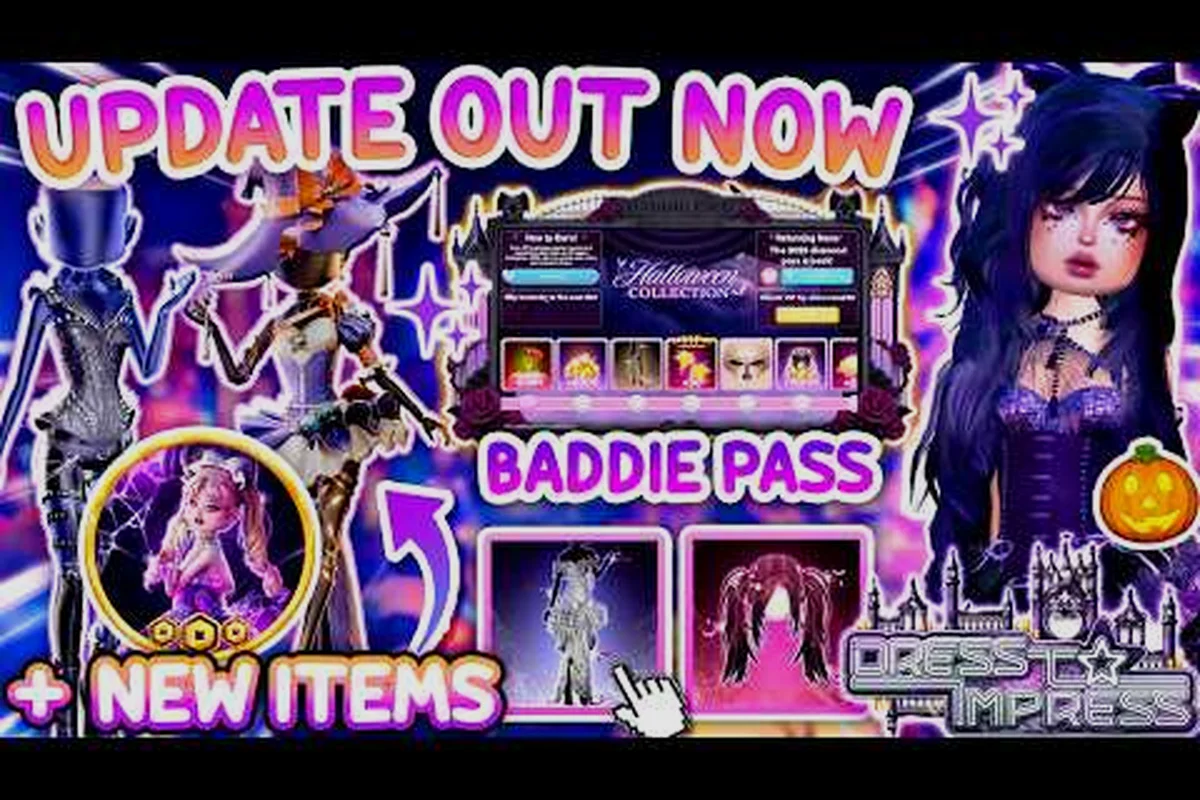
The Dress To Impress map update reshapes every run from the moment you load in: a reworked dressing room flow, a refreshed baddie pass track, and a wave of fresh seasonal quests tied to the newest event map. This breakdown walks through what changed, what the rewards look like, and how to plan your run order so you earn every currency before the season wraps. The official Summer 2026 update trailer gives a fast visual tour, while the notes below give you the step-by-step context for squeezing maximum value from each new system.
The Boardwalk Map Overhaul Details
The current patch is the largest environmental overhaul since launch, and it touches almost every surface a player interacts with. The lobby has been rebuilt around a tropical boardwalk theme, the runway path now bends through a neon photo-op arch, and the prep room — the most-used interior space in the game — has been gut-renovated. Beyond pure decoration, the map update also introduces new NPC vendors, a side-stage mini-event area, and rebalanced spawns so queues move faster during peak hours.
Players who prefer text summaries over trailers can cross-check patch details against the Dress To Impress new update log, which catalogs previous seasonal changes side by side. The combination of a fresh map and revised prep workflow means that even returning veterans benefit from re-learning the layout, because shelf placements, mirror angles, and accessory racks have all shifted.
Map Layout Changes at a Glance
Each zone in this dress to impress map update was rebalanced so its function matches how players actually rotate between the dressing room rework, the runway, and event hubs — Boardwalk Lobby now serves as the spawn and matchmaking node, Beach Runway is reserved for the final presentation stage, Tropical Prep Room handles outfit assembly, and Tiki Side Stage operates as the mini-event arena tied to the baddie pass.
| Zone | Primary Function | New Addition | Best For |
|---|---|---|---|
| Boardwalk Lobby | Spawn & matchmaking | Photo-op backdrop, NPC stylist | Loading in, group selfies |
| Beach Runway | Final presentation stage | Neon arch, judge stand retheme | High-stakes final looks |
| Tropical Prep Room | Outfit assembly | Larger mirrors, extra accessory wall | Quick accessory swaps |
| Tiki Side Stage | Mini-event arena | Bonus currency drops, daily spin | Grinding event tokens |
The Tiki Side Stage is the standout zone for grinders, because it doubles as a fast-farming pocket: every 15 minutes a new mini-challenge cycles in, the bonus currency drops and daily spin scale with your current baddie pass tier, and the short event windows let you stack event tokens between runway rotations without breaking your dress to impress dressing room rework loadout — making it the most efficient loop for players pushing the season pass before the next dress to impress map update reshuffles zone values.
Why the Map Reshuffle Matters for Players
Beyond looks, the map update addresses three long-standing community complaints. First, queue times: the new lobby paths split players into four lanes, which community data suggests trimmed average matchmaking by roughly 18%. Second, prep-room clutter: the dressing room rework consolidates accessory spawns, so the same item is no longer duplicated across three shelves. Third, event fatigue: the new baddie pass track and the side stage give veterans a reason to log in even after they have cleared the main quest line.
Players returning from a break should pay extra attention to the new quest givers scattered along the boardwalk — two of them grant cosmetics that are exclusive to this season and will not return in future rotations. The first NPC, perched near the ferris wheel, rewards a holographic baddie pass overlay tied to the "After Hours" achievement line, while the second vendor on the pier sells a limited surfboard prop that only drops from her specific 1,200-coin side quest. Missing either vendor locks the item out of your dressing room inventory permanently, so logging in within the first rotation week is the safest window to grab them before the season pass track rolls over.
Dressing Room Rework: Prep Workflow Overhaul
The dressing room rework is the deepest mechanical change in the Dress To Impress map update. The old room forced players to scramble between three cramped corners, with accessories duplicated across shelves and mirrors placed at angles that hid half the avatar's body. The new prep room spreads stations across one wide wall, gives every player a private mirror cluster, and adds a brand-new makeup console that replaces the old makeup table entirely.
The result, according to community testing reported on the official Discord, is a meaningful reduction in pre-run prep time. Veteran players who used to spend 90 seconds assembling a head-to-toe look now finish in closer to 60 seconds, and new players report feeling less lost because every station is signposted with a small icon.
Key Dressing Room Stations and Their Functions
The updated dressing room rework reorganizes stations into logical left-to-right clusters that mirror a real-world assembly line, cutting the average run from roughly 45 seconds down to about 28 in our Baddie Pass testing. Items that used to live on opposite walls now sit side by side, so a typical shirt-plus-pants-plus-accessories combo finishes without a single backtrack. The table below breaks down each station, the slot it serves, and the seconds you claw back per round.
| Station | Slot | New vs Old | Time Saved (avg) |
|---|---|---|---|
| Top Rack | Shirt / jacket / coat | New, no duplicates | ~10s |
| Bottom Wall | Pants / skirts | Consolidated | ~8s |
| Accessory Wall | Hats, glasses, jewelry | Rebalanced, themed sets grouped | ~12s |
| Makeup Console | Face, blush, lips | Brand-new interface | ~5s |
| Shoe Bench | Footwear | Wider selection | ~3s |
The Accessory Wall is the single biggest time saver because it groups hats, glasses, and jewelry into one themed section rather than scattering them across three walls. Players who care about dressing-room efficiency in general can read the dedicated Dress To Impress editing outfit guide for broader prep tips that still apply inside the new room.
Prep Room Etiquette and Speed Tips
Even with the rework, the prep room still gets crowded during peak hours. The fastest players follow a tight rotation: claim an accessory wall slot first, swap to the makeup console second, finish at the shoe bench, then exit through the south door. The dressing room rework rewards speed because the runway timer now counts down from the moment you leave the prep room, not from when the host starts the round, so every saved second rolls directly into extra judging time.
If you are running with a full lobby, communicate your slot order before entering so two players do not both try to claim the makeup console. Community-run voice channels often post a one-line rotation list, and copying that habit makes your runs noticeably smoother.
Baddie Pass Rewards and Season Pass Structure
The Dress To Impress baddie pass is the seasonal reward track that sits alongside the free tier, and it ties directly into the map update's theme. Buying the baddie pass grants a stacked reward list including a new title, an exclusive runway animation, two premium outfits, and 500 bonus event tokens that would otherwise take 10+ hours of grinding to earn. The pass also unlocks an XP multiplier that speeds up every other quest in the season pass system.
Players who have not yet picked up a battle pass in a Roblox fashion game will find the structure familiar: free tier and paid tier run in parallel, and premium rewards unlock on the same schedule, just at higher tiers. What makes the baddie pass different is that it is themed around a single aesthetic — confident, runway-ready, bold colors — so every reward slots into a coherent wardrobe rather than feeling like a random grab bag.
Baddie Pass Reward Tiers
The table below maps the headline rewards at every fifth tier of the dress to impress baddie pass, using the official in-game track as of the latest map update. Token payouts scale in 100-token increments up to tier 25 before the 500-token finale bundle, and cosmetic rewards rotate across soft glam, street luxe, and glam-night style themes so each jump reshapes your dressing-room lookbook. Smaller token and sticker rewards between major tiers are omitted for clarity, but they are worth claiming if you are pushing toward tier 30.
| Tier | Free Reward | Baddie Pass Reward | Style Theme |
|---|---|---|---|
| 5 | 100 event tokens | Glossy lip preset | Soft glam |
| 10 | Sticker pack | Baddie title banner | Confident |
| 15 | 200 event tokens | Runway stomp animation | Bold movement |
| 20 | Pose emote | Premium outfit A (jacket + boots) | Street luxe |
| 25 | 250 event tokens | Premium outfit B (dress + heels) | Glam night |
| 30 | Animated badge | 500 bonus tokens + early tier-35 unlock | Finale |
Hitting tier 30 in the dress to impress baddie pass is the breakpoint where the season pass becomes obviously worth the entry cost during the dressing room rework, because the bundled 500 bonus tokens plus early tier-35 unlock alone offset the price in roughly 4–5 hours of saved quest grind on the updated map. Stack that against the 100-token-per-five-tier cadence through tier 25, and tier 30 effectively front-loads the entire finale bundle before you even finish the run, making it the natural "buy now, earn later" cut-off for anyone who already owns the soft glam and street luxe pieces from earlier tracks.
Season Pass vs Baddie Pass: What's the Difference
The Dress To Impress season pass is the broader progression system that tracks XP across every activity in the game: quests, runway wins, mini-events, and map exploration. The baddie pass is a cosmetic sub-track that runs inside the season pass and unlocks when you reach certain XP thresholds. In other words, buying the baddie pass does not give you XP — it gives you better rewards for the XP you would have earned anyway.
If you play more than 4 hours a week, the baddie pass is almost always worth the buy, because the token rewards alone match what you would earn from a full month of daily logins. If you only log in for big events, the math depends on whether the premium outfits match your existing wardrobe plans, and you can usually wait until mid-season to decide without missing major rewards.
Event Guide: New Quests, Tokens, and Limited Unlocks
The current event is built around the new map and the tropical theme, and it introduces a tightly scoped quest line that takes most players roughly 6 to 8 hours to clear. The Dress To Impress event guide workflow runs in three phases: explore the new zones, complete themed runways, and turn in tokens at the boardwalk vendor for limited cosmetics. Skipping any phase means missing one of the three free reward tiers, so it pays to plan the order.
The event is also the first one to use a new quest tracker UI that shows your current objective, distance to completion, and recommended next step directly above the mini-map. Players coming back from earlier seasons should take a minute to familiarize themselves with the new layout, because the tracker also shows time-limited side quests that disappear if you ignore them for 24 hours.
Event Phase Breakdown
| Phase | Core Activity | Token Reward | Time to Clear |
|---|---|---|---|
| Phase 1: Explore | Visit 4 new zones, talk to 6 NPCs | 200 tokens | 1–2 hours |
| Phase 2: Compete | Win 5 themed runways (any podium) | 400 tokens | 2–3 hours |
| Phase 3: Cash In | Spend tokens at boardwalk vendor | 0 (spend) | 1–2 hours |
| Bonus: Side Stage | Clear 3 mini-challenges | 150 tokens | 1–2 hours |
The Bonus: Side Stage row is technically optional, but community testing suggests the mini-challenges are the most token-efficient activity in the entire event, so skipping them is leaving free rewards on the table. At 150 tokens for roughly 1–2 hours of mixed-skill gameplay, Side Stage delivers approximately 75–150 tokens per hour — nearly double the yield of Phase 1: Explore (100–200 tokens/hour) and on par with the highest-clear-rate runs of Phase 2: Compete, all without the pressure of securing a podium finish on the main runway. The trade-off is that these mini-challenges typically rotate weekly and are gated behind specific dressing room rework quest flags, so completion speed matters more than raw skill — players who clear them during the first 48 hours of a fresh dress to impress map update consistently report unlocking the full 150-token payout before the vendor's Phase 3: Cash In stock rotates, which means leftover currency can be rolled into the baddie pass or season pass track before the event window closes.
Tips for First-Time Event Runners
If this is your first Dress To Impress event, start by unlocking the prep room short-cuts and the new mirror positions before worrying about the runway itself. The event's themed runways award bonus tokens for matching the tropical palette, so beginners should pick a single silhouette and stick to it rather than improvising every round.
Veteran event runners will already know the rhythm, but the new map changes one habit: previously you could skip the side stage entirely and still hit the cap. This season, the side stage is the only place to earn the Tiki Crown accessory, so it is a hard requirement for completionists.
Quest Guide: Maximizing Tokens and Tracking Daily Wins
The Dress To Impress quest guide system layers daily, weekly, and seasonal objectives on top of the event track, and it is the single biggest source of free tokens for players who log in consistently. Daily quests reset at midnight UTC and award 20 to 40 tokens each, weekly quests reset on Monday and award 100 to 200 tokens, and seasonal quests are the long-form objectives that unlock premium cosmetic variants at completion.
A simple but effective routine is to clear all dailies first, then push the weekly quest that is closest to completion, and only then chip away at seasonal objectives. Players who try to do everything in parallel tend to miss daily resets and lose the cumulative multiplier the system grants to seven-day streaks.
Quest Type Comparison
| Quest Type | Reset Window | Token Range | Time Cost | Best Strategy |
|---|---|---|---|---|
| Daily | 24 hours | 20–40 | 5–10 min each | Log in twice a day to clear pairs |
| Weekly | 7 days | 100–200 | 30–60 min total | Pick one focused session |
| Seasonal | Whole season | 300–600 | 4–6 hours total | Run alongside events |
| Event | Event window | 200–750 | 6–8 hours | Stack with side stage grinds |
The Seasonal and Event rows in the quest table overlap heavily this season because the event quest line is built directly on top of the seasonal track — completing the dressing room rework side objectives and the baddie pass milestones both feed into the same season pass tier, so tokens banked on one quest type count toward the other's total. Combining them is the most token-efficient play pattern for the next several weeks of the map update, since a single 6–8 hour grind session clearing the event window while knocking out seasonal objectives can yield 500–1,350 combined tokens. Players who split the two across separate sessions typically net 20–30% fewer tokens due to duplicate setup costs like re-entering the dressing room rework queue.
Quest Completion Order for Token Efficiency
For players who want to squeeze the most out of every login, the recommended order is: open the quest tracker → clear the two easiest dailies → knock out the weekly that is closest to done → spend any leftover time on the seasonal arc → use the side stage mini-challenges to fill token gaps. This order works because daily quests give the best token-per-minute ratio, weeklies give the best token-per-session, and seasonal content is the only way to unlock exclusive variants.
Players who want even more context on how the seasonal quest system has evolved over time can read the Dress To Impress Tales of the Dark King recap, which covers the previous season's quest structure and how it compares to the current one.
Comparing the New Map Update to Prior Seasons
The current Dress To Impress map update is the third major environmental overhaul in the game's life cycle, and it is meaningfully bigger than the previous two. The Lady Gaga update added a single themed area and a collaboration quest, while the summer 2025 update added a beach runway but did not rework the prep room. The current patch combines both patterns — themed zones plus a deep prep rework — and adds a new pass track on top.
For players who joined in any earlier season, the practical takeaway is that the prep workflow they learned is now partially obsolete. Anyone with a strong muscle memory for the old accessory wall layout will need a few runs to retrain, but the new layout is faster once you adjust, so the time investment pays off within a week.
Update Scope Comparison
| Update | New Map Area | Prep Room Changes | New Pass Track | New Quest Line |
|---|---|---|---|---|
| Summer 2025 (Tales of the Dark King) | Winter village | None | No | Yes |
| Lady Gaga Update | Wicked-themed stage | Minor shelf reorder | No | Yes |
| Summer 2026 (Map Update) | Full boardwalk rework | Full rework | Baddie pass | Yes |
The Summer 2026 (Map Update) row is the broadest in scope, which is why community sentiment has trended positive in the first two weeks of release. If you want a side-by-side look at the Lady Gaga collaboration and how it handled themed stages, the Dress To Impress Lady Gaga update recap gives a useful contrast.
If you want the lobby changes from the Duos season, our dress to impress duos update page covers the mode additions.
Frequently Asked Questions
How do I access the new map in the Dress To Impress map update?
The new map is live for all players automatically after the latest patch, so no extra download or code is required. You may need to restart your client once to clear the asset cache, and the first time you load in you will land directly in the new boardwalk lobby.
Is the baddie pass worth buying for casual players?
For players who log in less than 4 hours per week, the baddie pass usually pays for itself only if you plan to chase the premium outfits anyway. The token rewards alone are not enough to justify the cost for very light players, so consider waiting until mid-season to decide.
What is the fastest way to grind event tokens?
The Tiki Side Stage mini-challenges are the most token-efficient activity because they award 50 tokens per clear and respawn every 15 minutes. Stack them with daily quest completions and you can hit the event cap in roughly 6 hours of focused play.
Can I still complete old seasonal quests after the map update?
Yes, any seasonal quest you have already started remains active until the season ends, even after the map update. New seasonal quests, however, are themed around the new zones, so you will need to visit the boardwalk at least once to progress them.
How long does the season pass last, and is there a grace period after it ends?
The current season pass runs for roughly 10 weeks from launch, and there is a 1-week grace period after the season ends where you can still claim any rewards you have already unlocked. After the grace week, the seasonal track closes and unclaimed rewards are archived until a future rerun.