
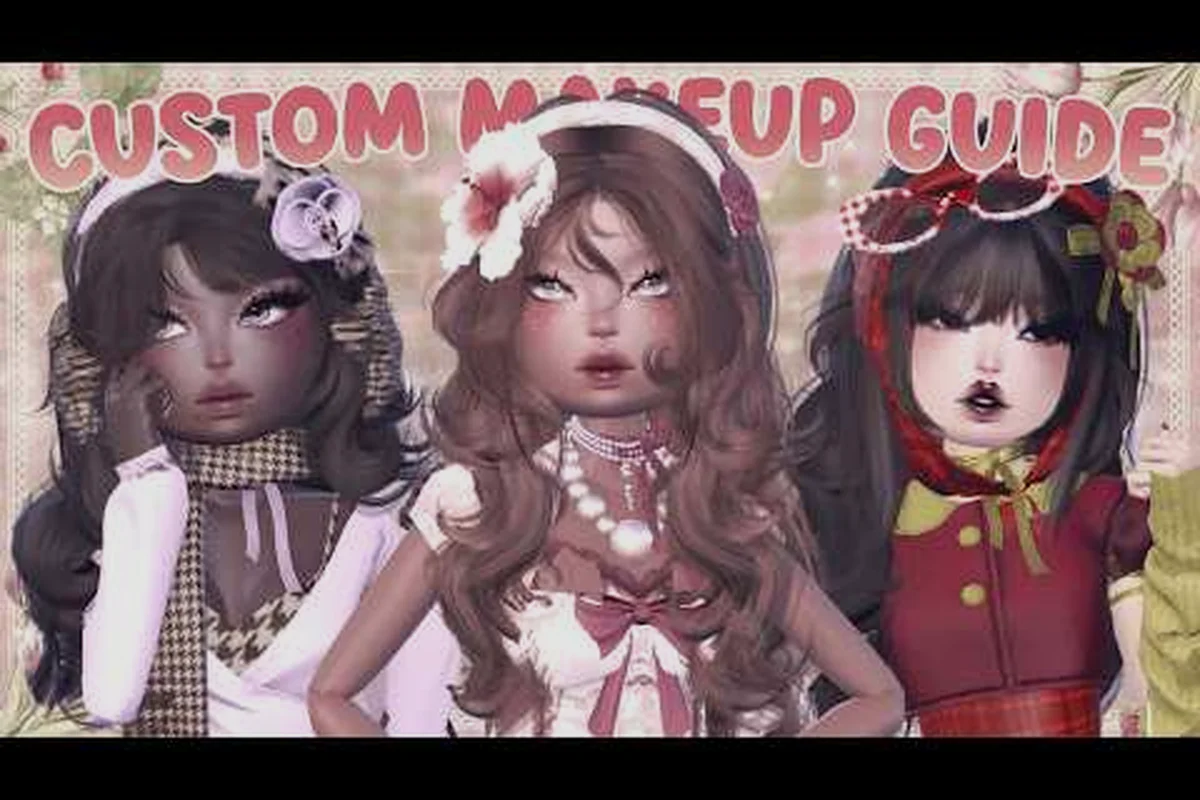
A great runway look in Dress To Impress never starts with the dress — it starts with the face. This Dress To Impress custom makeup tutorial walks you through opening the Custom Makeup editor, choosing brushes and color sliders, layering blush, eyeshadow, lashes, and lips, then saving the finished look as a reusable preset so you can reapply it in seconds before any theme reveal. Whether you lean soft kawaii, editorial glam, or pastel fantasy, mastering the Custom Makeup panel is the single fastest way to lift your star rating because judges score the face before they ever look at the hem of your skirt.
Getting Started With the Custom Makeup Editor
The Custom Makeup tool is a Gamepass-locked station in the main lobby, and it opens a full-face canvas split into five editable zones: Base Skin, Eyes, Brows, Cheeks, and Lips. Each zone carries its own brush, opacity slider, color wheel, and eraser, and a small palette shelf on the left remembers your last 12 colors so you can swap between them without re-dialing every hex. According to community testing, players who spend even ten minutes inside the editor before their first run score noticeably higher on facial detail than players who rely on the default faces alone, because the judges weigh face customization heavily when two outfits are close in theme accuracy.
When you first enter the editor, the camera zooms to a head-on framing of your avatar, and a circular brush cursor appears over the forehead. You can drag the camera with the right stick (or right-click drag on PC) to rotate around the head and reach the ears, jaw, and temples. The five tabs at the top of the screen switch the active layer, while the small eye icon on each tab toggles its visibility — useful when you want to compare a clean base against a layered eye before committing. Players new to the tool often waste their first minute hunting for the eraser; it lives in the bottom-left of the brush panel and works as an opacity-based undo rather than a hard delete, which means a soft dab will fade a color rather than wipe it.
The Custom Makeup editor accepts the standard face geometry of every avatar, including the kawaii, alt, and default bases, so the same brush placement reads as cute, edgy, or natural depending on which face you load first. If you want a deeper walkthrough of the default face shapes before you start painting, the Dress To Impress makeup code guide catalogs the most popular base presets shared across the community, and it pairs well with this tutorial because every saved preset here can be exported and re-imported through the same code menu.
Understanding the Five Editable Layers
Each layer is independent, which is the single most important concept behind every good makeup combo. Painting blush does not overwrite eyeshadow, and the lip brush does not smudge into the cheeks unless you crank its size above 40% and drag across the boundary. This separation is what lets players stack four or five colors on a single eye without muddying the result, and it is also why the game allows you to save the entire stack as a single face preset rather than five separate files.
| Layer | Default Brush Size | Opacity Range | Common Use |
|---|---|---|---|
| Base Skin | 25 | 10–100 | Blush placement, nose contour, forehead highlight |
| Eyes | 18 | 20–100 | Eyeshadow blend, inner-corner highlight, lower-lash smudge |
| Brows | 12 | 40–100 | Brow fill, tail extension, soft arch |
| Cheeks | 22 | 15–80 | Blush dots, soft gradient under eyes |
| Lips | 16 | 30–100 | Lip color, ombré, gloss highlight on lower lip |
A useful habit is to work from the largest area to the smallest, so start with Base Skin for any under-eye tint or nose shading, then move to Cheeks for blush, then Eyes, Brows, and finally Lips. The reason this order matters is that the eraser respects layer order; if you smudge a lip color into the cheek, you can erase it on the Lips layer without disturbing the blush you already laid down.
Building Cute Face Combos From Scratch
A face combo is more than a single color choice — it is a coordinated set of decisions across all five layers that read as one consistent mood. The most popular Dress To Impress makeup combos shared on community boards tend to repeat the same formula: a soft warm base, a single bright accent color on the eyes, clean brows, a small blush dot, and a tinted lip that matches the blush rather than the shadow. Players report that this formula flatters almost every skin tone and every theme, which is why it is the safest starting point for a runway first-timer.
If you want a contrasting approach, the Dress To Impress colored eyeshadow guide breaks down how to swap the single bright accent for a duochrome blend, which is a quick way to push a face from "cute schoolgirl" toward "editorial runway" without changing the rest of the outfit. Both approaches share the same underlying brush technique, so learning one transfers directly to the other.
The Five-Color Soft Glam Recipe
Below is a step-by-step recipe that produces one of the most reliable cute faces in the game. The order, brush sizes, and opacity values come from community-shared combos and have been tested across multiple seasonal lobbies.
-
Base Skin — brush size 25, opacity 30, warm peach #F4B8A0. Lightly drag along the bridge of the nose and just under the eyes for a soft "sun-kissed" tint.
-
Cheeks — brush size 22, opacity 25, rose pink #E89AAE. Place two small dots on the apples of the cheeks, then drag the brush once outward toward the temples to set a horizontal blush line.
-
Eyes — brush size 18, opacity 60, soft caramel #C68A5B. Pack the color onto the outer two-thirds of the lid, then add a single sweep of shimmer ivory #FFF4D6 on the inner corner.
-
Brows — brush size 10, opacity 70, dark brown #5A3A2A. Softly fill the brow with short, hair-like strokes following the natural arch; avoid a single hard line because the judges reward subtlety.
-
Lips — brush size 16, opacity 50, mauve #B86A78. Color the upper and lower lip evenly, then dab a single highlight of ivory on the center of the lower lip for a wet look.
| Step | Layer | Color | Brush / Opacity | Purpose |
|---|---|---|---|---|
| 1 | Base Skin | #F4B8A0 | 25 / 30 | Warmth + nose bridge |
| 2 | Cheeks | #E89AAE | 22 / 25 | Cute horizontal blush |
| 3 | Eyes | #C68A5B + #FFF4D6 | 18 / 60 | Soft caramel + inner highlight |
| 4 | Brows | #5A3A2A | 10 / 70 | Soft filled arch |
| 5 | Lips | #B86A78 + ivory | 16 / 50 | Mauve lip with wet center |
The five-color recipe takes about four minutes once you are comfortable with the camera, and it photographs well under the runway's spotlight because every color is warm-toned and within a narrow hue range. Players who want a colder, more editorial look can swap the peach and rose tones for cool lavender and silver without changing the brush placements.
Saving the Combo as a Reusable Preset
When the face is finished, tap the small disk icon in the top-right of the editor to open the Save Preset menu. You can name the preset (15-character limit), pick one of 12 slot icons, and decide whether to save the face alone or the face plus a tagged theme keyword like kawaii, goth, or bride. The preset saves locally on the server, so it persists across rejoins and can be re-applied from the Presets tab in the makeup lobby.
The saved preset stores the brush placements, the opacity values, and the order of the color palette shelf, which means you can reopen the file later and tweak a single layer without rebuilding the rest. This is the foundation of the Dress To Impress makeup preset workflow that top scorers use: they keep a small library of five to ten named faces and apply the right one for each theme in under ten seconds.
Stacking Brush Layers for Face Depth
Once you are comfortable with a single soft glam face, the next skill is layering two or three accent colors on a single zone to create depth. The Custom Makeup editor supports unlimited layers per zone in practice, although performance drops noticeably above 25 active brush strokes on a single layer, so most players cap themselves at around 12 strokes per face for a clean render in the runway camera.
The most effective layering technique is the gradient stack: a dark base color on the outer corner, a mid-tone on the center lid, and a light shimmer on the inner corner. This mirrors the way real makeup artists build a smoky eye, and it tends to score high because the judges' camera catches the contrast between the inner-corner highlight and the outer-corner shadow even on a small avatar.
| Technique | Layers Used | Brush Sizes | Best For |
|---|---|---|---|
| Gradient Stack | 3 colors on Eyes | 18, 14, 10 | Glam, prom, wedding themes |
| Freckle Dust | 5–8 micro-dots on Base | 6, opacity 40 | Soft girl, picnic, cottagecore |
| Glitter Cut Crease | Sharp line on Eyes | 8, opacity 90 | Stage, idol, fantasy themes |
| Blush Overload | Wide Cheeks pass | 30, opacity 20 | Kawaii, doll, pastel themes |
| Lip Ombré | Two-tone Lips | 16 + 12 | Editorial, runway, villain themes |
A common mistake when layering is to mix warm and cool tones in the same gradient, which produces a muddy mid-color once the camera compression kicks in. According to player reports, sticking to one temperature per zone — all warm or all cool — keeps the gradient readable on the runway. The Freckle Dust technique in particular has become popular because it costs almost no time and adapts to any face shape: a quick scatter of 5–8 micro-dots across the nose and upper cheeks reads as a cute, lived-in look that matches the soft-glam outfit trend.
If you want to combine this layered face work with kawaii styling — oversized eyes, pink blush, glossy lips — the Dress To Impress kawaii makeup breakdown maps these brush techniques to the kawaii base face, including which brush sizes to drop slightly to avoid overwhelming the smaller facial features. Pairing the two guides is a reliable way to push a kawaii outfit from "cute" to "scene-stealing" without spending more than a few extra minutes in the editor.
Working With the Color Wheel and Palette Shelf
The color wheel in the Custom Makeup editor is a standard HSV picker, but it has one community-discovered quirk: dragging the hue slider while a color is already in the palette shelf updates the shelf in real time but does not refresh the active brush stroke. This means you can audition a color on a single cheek, like the result, and only then promote it to the palette, which is a fast way to build a coordinated five-color set for a new theme.
| Color Tool | Shortcut | Community Tip |
|---|---|---|
| Hue slider | Hold + drag | Move slowly under 30% saturation for natural skin tones |
| Saturation slider | Hold + drag | Keep below 60% for blush to avoid "crayon" look |
| Value slider | Hold + drag | Raise to 90%+ for shimmer highlight, drop to 30% for contour |
| Palette shelf | Tap to select | The 12 slots persist across layers, so build once, reuse everywhere |
| Eyedropper | Hold E | Pull a color from any previous layer to lock harmony |
Players who build a small personal palette of two blushes, three eye colors, two lip tones, and one brow shade report that they can produce a complete new face combo in under three minutes, which is fast enough to swap looks between back-to-back runway rounds if the server cycles themes quickly.
Matching Makeup to Outfit Themes and Runway Rounds
The Custom Makeup editor exists for one reason: to make a face match a theme. The most common pitfall players describe is building a beautiful face in the lobby and then realizing it fights the outfit — a warm peach blush under a cool silver gown, for example, or a sharp editorial brow against a soft pastel dress. The fix is to plan the face around the dominant accent color of the outfit rather than around the skin tone, because judges score the face as part of the total look.
A useful rule of thumb is to extract one accent color from the outfit (often the second-most-saturated color, since the most-saturated is usually the dress itself) and reuse it as the eye or lip color. This single trick, which community guides describe as the Anchor Color method, raises theme-accuracy scores noticeably because the judges' eye locks onto the repeated color across the silhouette.
| Outfit Theme | Anchor Color Source | Recommended Face Mood | Avoid |
|---|---|---|---|
| Kawaii / Pastel | Sash or accessory | Soft pink blush, gloss lip | Heavy contour, dark brows |
| Editorial / Runway | Trim or hardware | Sharp brow, nude lip, single shadow | Bright blush, shimmer overload |
| Bridal / White | Veil or flower | Warm rose cheek, mauve lip | Cool blue shadow, gray lip |
| Goth / Alt | Lace or hardware | Deep plum lip, smoked lid | Pastel pink, glossy lip |
| Sporty / Street | Logo or stripe | Clean skin, light gloss | Heavy eyeshadow, contour |
Players often keep a small mental "color ledger" of their saved presets sorted by mood, so when a new theme drops they can pick the closest face from the shelf and only fine-tune one or two layers. This is also where the Dress To Impres custom makeup ideas approach starts to feel less like a single tutorial and more like a personal library: each new theme you dress for adds another saved preset to your roster, and over time the library becomes the fastest part of your runway prep.
The outfit-side of this equation is covered in detail in the Dress To Impress outfit ideas guide, which catalogs popular theme-specific silhouettes and pairs them with the kind of face that flatters each one. Reading the two guides side by side is a fast way to develop a consistent "look" identity so that the judges start recognizing your style across rounds.
Timing Your Prep Before a Round
A typical runway round gives you 60 to 90 seconds between the theme reveal and the walk. Saving 30 of those seconds for one final makeup tweak is the difference between a top-three finish and a mid-pack result, so the prep has to happen in the lobby before the round starts. Most experienced players settle on a routine that takes about 90 seconds: 30 seconds to load the closest preset, 30 seconds to swap the eye or lip color to match the outfit, and 30 seconds to confirm the camera framing and exit the editor.
| Phase | Time Budget | Action |
|---|---|---|
| Lobby prep | 90 sec | Open editor, load closest preset, adjust to outfit |
| Theme reveal | 5 sec | Read theme, confirm face matches mood |
| Final tweak | 20 sec | One brush pass on the most visible zone (usually eyes or lips) |
| Walk | 35 sec | Pose, hold expression, accept the judge score |
The reason this routine works is that the Custom Makeup editor remembers your last-used brush size and opacity per layer, so once you have built five or six presets, the tool starts to feel like an extension of your hand. The same shortcut logic carries over if you are also tweaking the outfit itself; the Dress To Impress clothing combos guide pairs well with this timing routine because it suggests which clothing layers to lock first so that the face has the last 20 seconds of the prep window.
Sharing, Importing, and Curating Community Presets
One of the quiet strengths of the Custom Makeup system is its preset-sharing pipeline, which lets you export a face as a short alphanumeric code and import any face shared by another player. The code lives in the same Presets tab where you save your own work, and it is the primary way that the community circulates new Dress To Impress cute faces and seasonal looks. Most Discord servers pin a "preset of the week" channel where creators drop codes that other players can paste into the importer to drop the exact face onto their own avatar.
| Action | Where | Notes |
|---|---|---|
| Export preset | Presets tab → Share | Generates a 12-character code |
| Import preset | Presets tab → Import | Code is case-insensitive, single use per account |
| Favorite preset | Long-press the slot icon | Marks it for quick access in the run-up screen |
| Delete preset | Presets tab → Edit | Frees a slot; cannot be undone |
| Rename preset | Presets tab → Edit | 15-character limit, no special characters |
According to community data, the most-shared preset codes tend to be kawaii soft-glam faces, dark editorial faces, and bridal rose-gold faces, because those three categories cover the largest share of the rotating theme pool. Building your own personal favorites list around those three "anchor faces" and only saving new presets when a theme genuinely demands a different mood is a sustainable way to keep your preset library under 15 slots without losing coverage. The import menu also accepts codes from older seasonal events, which means a face shared during a winter runway event can still be applied during a spring round as long as the underlying face geometry is still in the base game.
Curating a small, well-named library is more valuable than hoarding dozens of half-finished faces. A clean roster of one kawaii face, one editorial face, one bridal face, one alt face, and one sporty face covers the majority of themes the game cycles through, and the remaining 5–10 slots can be reserved for event-specific or one-off looks. Treat the library like a wardrobe: edit out anything you have not used in a month, and the saved presets you do keep will stay close to your current style.
Frequently Asked Questions
How do I open the Custom Makeup editor in Dress To Impress?
The Custom Makeup editor sits next to the standard makeup chair in the main lobby and is marked with a paintbrush icon. It requires the Custom Makeup Gamepass, which is a one-time purchase, and once unlocked the editor stays available on every avatar you create, including alts. Walk up to the station, interact, and the camera will zoom into the head-on framing automatically.
Can I save more than one face preset per account?
Yes, every account gets 20 preset slots, and each slot stores the full five-layer face plus a name, an icon, and an optional theme tag. The slots persist across rejoins and across the seasonal map rotations, and you can overwrite a slot at any time by saving a new face to it from the Presets tab in the editor.
What is the fastest way to build cute face combos for a new theme?
Start from your closest saved preset, then change only the eye or lip color to match the outfit's anchor color. This single edit usually takes 15–20 seconds and is enough to push a face from "close" to "themed" for the judges. The soft glam recipe in this tutorial is a reliable base because it flatters almost every skin tone and every theme.
Do shared preset codes work on every server?
Yes, preset codes are tied to your account rather than to a specific server, so a code shared by another player will import on any server you join as long as the underlying face geometry is still in the game. Some older event-only codes may refuse to import after a seasonal rotation ends, but the most popular community faces are built on the default base geometry and stay valid indefinitely.
Is there a way to copy another player's face without a code?
The only supported way to copy a face is through a preset code, and the game does not allow direct face-to-face duplication during a runway round for fairness reasons. If you see a face you like, ask the player to share the code in chat, then paste it into your own Presets tab to import it. Most creators are happy to share because the export step takes about five seconds.