
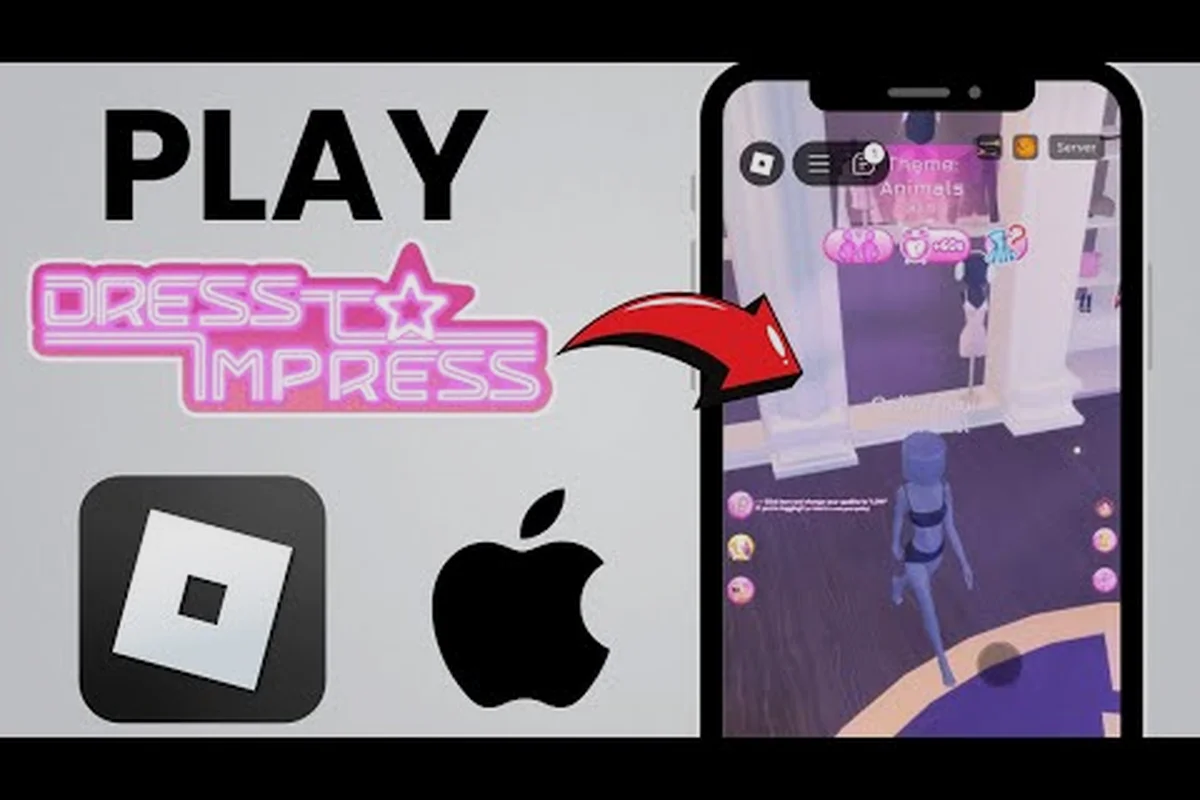
Touchscreen precision separates a polished runway look from a chaotic mash-up, and mastering the control scheme on every supported device is the fastest way to stop fighting the UI and start styling. This guide breaks down the on-screen button layout, the Dress To Impress mobile controls workflow on iOS and Android, the button mapping on Xbox and PlayStation, and the steps behind saving and reloading outfit presets so you can focus on the theme instead of fumbling with menus.
Getting Started With Dress To Impress Mobile Controls
Phone and tablet play feels different from a mouse-driven Roblox session because the camera, the dressing room, and the voting screen all live behind floating buttons that overlay the avatar. According to community testing shared by experienced runway players, the default layout released by the developer maps every important function to a reachable thumb zone, but a few hidden gestures are not obvious until you spend a full theme inside the dressing room.
The first thing to understand is that the mobile screen is split into three regions: the left thumb zone controls camera and avatar rotation, the right thumb zone handles walking and emotes, and a thin bottom strip hosts the menu buttons that open your inventory, color wheel, and accessory shelves. The result is a layout that keeps both thumbs active without forcing you to drag the camera with a single finger while you scroll through shirts.
Default On-Screen Button Layout
| Zone | Button | Function | Notes |
|---|---|---|---|
| Top-left | Camera | Rotate avatar | Hold and drag to spin 360° |
| Top-right | Zoom | Pinch in/out | Resets when entering voting |
| Bottom-left | Joystick | Walk/run | Tap once to walk, hold to jog |
| Bottom-right | Action pad | Sit, wave, pose | Swipe to cycle emotes |
| Center-bottom | Wardrobe | Open closet | Houses tops, bottoms, shoes |
| Center-bottom | Palette | Color wheel | Tap a swatch to dye fabric |
| Center-bottom | Save | Bookmark current look | Writes outfit to local slot |
These are the buttons most players tap every round, and they appear in the same positions whether you join a public server or load into a private lobby. If a button is missing on your screen, you are likely inside the makeup or hair sub-menu, where only the Dress To Impress mobile controls for the active category are visible.
Recommended Pre-Round Settings
Before the theme drops, the smart move is to dial in three quick settings. First, increase the camera sensitivity in the gear menu so a small thumb movement spins the avatar far enough to check the back of the outfit. Second, pin the joystick to a comfortable side; the default is left-thumb, but right-thumb players can swap it in the accessibility panel. Third, enable the "Tap-to-Confirm" toggle for the wardrobe so you do not have to double-tap every clothing swap during a fast round.
When those three settings are tuned, the next round feels smoother because the camera responds immediately and the wardrobe opens with a single tap. Players who skip this step often complain about accidental swaps, which happen when the wardrobe button sits too close to the color wheel and a stray drag selects the wrong item.
Dress To Impress Xbox Guide: Controller Layout And Tips
Console play on Xbox is a popular choice for players who want a bigger screen while keeping the relaxed pacing of couch gaming. The control scheme on Xbox is consistent with most Roblox ports, but the dressing room adds a few custom shortcuts that take a round or two to memorize. According to the Dress To Impress official Roblox page, the title is fully playable on console and supports the standard Xbox Wireless Controller without any extra adapter.
The core idea is that the left stick always moves your avatar, the right stick always rotates the camera, and the triggers snap through inventory tabs. Once that mental model is set, the rest of the buttons become muscle memory within a few matches.
Xbox Button Mapping
| Input | Action | Where You Use It Most |
|---|---|---|
| Left Stick | Walk / run | Dressing room and runway |
| Right Stick | Rotate camera | Checking outfit from all angles |
| A | Confirm / equip | Selecting clothing items |
| B | Back / cancel | Exiting a sub-menu |
| X | Cycle emote | Podium and runway posing |
| Y | Open palette | Dyeing fabric and skin tone |
| LB / RB | Previous / next tab | Jumping between tops and shoes |
| LT / RT | Scroll inventory | Faster than holding the stick |
| D-Pad Up | Save current look | Quick-save during a round |
| D-Pad Down | Load saved preset | Reapply a stored outfit |
| Start | Pause menu | Quit, change settings, leave |
Notice the D-Pad shortcuts: Up saves and Down loads. That pairing is the console equivalent of the on-screen Save and Preset buttons on mobile, and it is the single most useful trick for players who rotate between saved looks on a single account.
Console-Specific Tips
-
Use LT and RT to fly through inventory instead of inching through with the left stick; the scroll is faster and reduces the chance of selecting the wrong shirt under pressure.
-
Press Y to open the color wheel before you select a garment so you can plan a palette swap without re-opening the menu.
-
Bind the camera sensitivity to a higher value in the settings if you have a large TV; the default is tuned for a 1080p monitor and feels slow on a 4K display.
-
Save two presets per theme category so you always have a backup if the voting audience prefers a different silhouette.
-
Hold B to back out of nested menus rather than tapping, which closes the entire wardrobe and forces you to reopen it.
Each tip above is small on its own, but stacking them reclaims roughly 8–12 seconds per runway round in Dress To Impress — enough to finish a shoe color-match, swap to a backup preset from your saved outfit slots, and still drop a matching accessory before the timer hits zero. Treat those saved seconds as budgeted runway time and spend them on polish, not panic.
Dress To Impress PlayStation Guide: DualSense Layout And Tricks
The PlayStation port mirrors the Xbox layout almost exactly, with the only real change being the glyphs on the face buttons. Triangle, Circle, Cross, and Square replace Y, B, A, and X, and the rest of the controls map one-to-one. The DualSense also adds a touch pad, which the developer mapped to a quick-access radial menu for emotes, a small but appreciated feature for podium posing.
Players who switch between PS5 and Xbox on the same account will not lose their muscle memory, because the underlying control logic is identical. The few DualSense-only shortcuts below are worth learning if you spend most of your time on PlayStation.
PlayStation Button Mapping
| Input | Action | DualSense-Specific |
|---|---|---|
| Left Stick | Walk / run | Same as Xbox |
| Right Stick | Rotate camera | Same as Xbox |
| Cross | Confirm / equip | Same as Xbox A |
| Circle | Back / cancel | Same as Xbox B |
| Square | Cycle emote | Same as Xbox X |
| Triangle | Open palette | Same as Xbox Y |
| L1 / R1 | Previous / next tab | Same as Xbox LB / RB |
| L2 / R2 | Scroll inventory | Same as Xbox LT / RT |
| D-Pad Up | Save current look | Same as Xbox |
| D-Pad Down | Load saved preset | Same as Xbox |
| Touch Pad Swipe | Radial emote wheel | PlayStation exclusive |
| Options | Pause menu | Same as Xbox Start |
DualSense Tips Worth Knowing
The touch pad radial is a fast way to access the full emote set during the podium walk, because it opens the wheel without covering the avatar preview the way a menu button does. Swipe left or right to cycle categories, and tap to select. Players who avoid the touch pad out of habit often miss the extra posing options that the wheel exposes.
A second tip is to set the trigger effect intensity to "Light" in the system settings; the default rumble can be heavy when the runway timer ticks down, and a lighter effect keeps the controller quiet without removing the haptic feedback entirely. Community reports suggest the DualSense adaptive triggers also pulse when a vote notification arrives, which is a small cue that helps players react faster to the results screen.
Dress To Impress How To Save Outfits And Reload Presets
Saving a look is what turns a single good round into a reusable style library, and the saving system is built directly into the wardrobe menu. The flow on every platform is similar: open the wardrobe, finalize the outfit, tap the bookmark icon, and pick an empty slot. The game stores up to ten saved presets per avatar, and the slots are shared across servers, so a look you build in a private lobby will appear in a public runway the next time you join.
The reason this matters is that theme rounds repeat, and the players who climb the leaderboard are usually the ones who can reload a tested look in under a minute. Saving once, reusing many times, is faster than rebuilding from scratch every round.
Step-By-Step Saving Process
| Step | Action | Platform Notes |
|---|---|---|
| 1 | Open the wardrobe with the center button (mobile) or Y / Triangle (console) | Always start here before editing |
| 2 | Build the look using tops, bottoms, shoes, accessories, hair, and makeup | Order does not matter |
| 3 | Open the color wheel and apply the final palette | Saving captures the current dye |
| 4 | Tap the bookmark icon (mobile) or press D-Pad Up (console) | The save slot list appears |
| 5 | Pick an empty slot and confirm the name | Names can be edited later |
| 6 | Wait for the "Saved" toast to disappear | The look is now in your preset list |
How To Load And Edit Presets
Loading a saved look is the reverse of the saving flow. Open the wardrobe, tap or press the "Load Preset" button, and pick a slot from the list. The avatar snaps to the stored configuration in about one second on mobile and almost instantly on console. If the look needs a small tweak, edit any single piece after loading; the change is applied to the current avatar but does not overwrite the saved preset unless you re-save into the same slot.
Players often ask whether presets are tied to a server. According to community testing shared on the official Discord, the preset list is stored on the player's local profile and travels with the account across servers and platforms, so a look saved on a phone can be loaded on a PlayStation the next day. The only case where a preset is lost is when the player resets their avatar data from the settings menu, which clears every saved slot.
Building A Dress To Impress Outfit Presets Library
A presets library is the difference between a casual player and a regular podium finisher, because it removes the time pressure of building a fresh look every round. The standard approach is to organize presets by theme category: formal, casual, fantasy, school, beach, and so on. Each category can hold two or three variations, which gives you enough coverage to handle any prompt the voting screen throws at you.
The point of organizing by theme is that the voting rounds reuse common prompts, and a well-named preset lets you reload the right look in a single tap. Players who name their slots with the theme name (for example, "Beach v1" and "Beach v2") can pick the right one without previewing every option.
Recommended Preset Categories
| Category | Slot 1 | Slot 2 | Slot 3 (Optional) |
|---|---|---|---|
| Formal | Gown and heels | Suit and oxfords | — |
| Casual | Tee and jeans | Hoodie and sneakers | Streetwear |
| Fantasy | Robe and crown | Armor and boots | — |
| School | Uniform and loafers | Skirt and knee socks | — |
| Beach | Swimsuit and sandals | Cover-up and shades | — |
| Y2K | Crop top and mini | Velour set | — |
| Bridal | Dress and veil | Suit and boutonniere | — |
The table above is a starting point; experienced players often expand it with seasonal themes like Halloween, winter, or prom. The hard cap of ten slots means you have to retire older presets to make room, so a quarterly review of the library is a good habit.
Preset Naming And Backup Tips
A clear name saves time, and a short tag system works best because the slot list only shows the first twelve characters. Use prefixes like "[Formal]" or "[Y2K]" so the category is visible at a glance, and add a version number if you keep multiple variations. For backup, take a screenshot of every preset from the front and the back; if a slot is accidentally overwritten, the screenshot tells you exactly which pieces to rebuild.
Players who want an extra layer of safety can use a photo mode pose guide to capture the back of the outfit before saving, which makes the screenshot easier to match when restoring. Pairing saved presets with a quick pose reference is the workflow that top runway regulars use to keep their library consistent across seasons.
Once the buttons feel natural, our dress to impress shortcut keys guide covers the PC keyboard map, while the dress to impress beginner guide explains how to turn those hands into a winning runway routine.
Frequently Asked Questions
Are Dress To Impress mobile controls the same on iOS and Android?
Yes, the on-screen layout is identical on both platforms because the game runs through the Roblox client, which uses a unified touch interface. The only differences come from device size, because smaller phones may require a thumb stretch to reach the top buttons, while tablets can use two-handed play with one thumb on each zone.
Can I rebind the buttons on Xbox or PlayStation?
The base controls follow the Roblox console port and are not fully rebindable, but you can adjust camera sensitivity, swap the joystick side in the accessibility panel, and toggle the "Tap-to-Confirm" option. These small changes cover most comfort issues without needing a full remap.
How many Dress To Impress outfit presets can I save?
Each avatar can hold up to ten saved presets, and the slots persist across servers and platforms. Resetting the avatar data from the settings menu clears all slots, so back up the looks you want to keep with screenshots before any reset.
Does the mobile version support controller input?
Yes, most modern iOS and Android devices accept Bluetooth controllers, and the game maps Xbox and PlayStation pads automatically once they pair through the OS-level Bluetooth menu. After pairing, the on-screen buttons hide and the layout follows the Xbox or PlayStation guide, with D-Pad Down reserved for loading outfit presets and the bumpers cycling through wardrobe categories.
What is the fastest way to reload a saved look during a round?
Open the wardrobe, tap or press "Load Preset," and pick a named slot to bring up the full preset wheel showing your ten save slots. On Xbox and PlayStation, holding D-Pad Down for about half a second opens the same load menu directly without a separate confirm button, which is the quickest path when the timer is low, while touch users can instead flick the slot list with a quick vertical swipe to skip ahead.